The Brief - The Solution - Additional Images
Brief
I took over the management of this project part way through, after a machined prototype had been made to gain customer sign off.
My goal with this project was to finalise the design for manufacture of the tag, refine the design, find an assembly solution which would allow the two parts of the tag to securely contain an RFID chip, and source additional components such as in-mould labels and stickers.
All of the above I wanted to achieve with strong and consistent communication with the customer, to ensure that we were on the same wavelength and were meeting each others completion targets.
The Solution
Once I had received the first trial samples of the tag from the production injection moulding tool, I set about reviewing the finish of the product, mostly regarding the method of injection moulding.
Although I was focused on getting the best results possible from the moulding, I was very concious about the experience that users would have using the product. In the second image in the additional images section below, you can see the large, external witness mark from the injection point of the part which was extremely sharp. My main goal with this was to determine a way we could reduce the flash around the witness mark, by redesigning the sprues.
Once I was happy with the result of the moulding, I set about sourcing and testing IMLs (in-mould labels). I contacted multiple suppliers and had samples made and delivered, which we tested in various ways to determine the colour quality and resiliance to wear and tear. A handful of these were tested in the prototype tool, to once again gain sign off from the customer and prove that IMLs were the way to go.
While settling on the IML material, finish and supplier, we had the prototype tool shipped to the UK ready for continued testing and, eventually, production runs.
After setup in the UK, I went to the factory to run the tool myself, in order to see the process first hand and evaluate the quality of the product. I also used this time to test out some new, more colourful labels, and also test out the ultrasonic welding which we decided on using to seal the RFID chip inside the tag.
The customer feedback on the project to this point was all fantastic, I was really happy with the way the design and management of this project went.
Tag v2
Internally, we decided to see if we could make some drastic changes and improve the design of the tag. Whilst I continued to manage the initial project, the task of working on the second version of the tag was given to one the placement students we had. I was available at all times to bounce ideas off of and do concept generation and detailed design analysis.
Eventually, we came up with a fully overmoulded design, which could be manufactured in one step, as opposed to multiple. The original tag required moulding with the IML, placing in a jig to insert the RFID chip, and then having the lid welded on. The newer design, allowed the RFID chip to be placed in the tool, and the rubber casing to be moulded around it.
We worked on 3D printing our own injection moulding tool and produced a number of successful prototypes on the mini moulding machine we had on site. A render I produced of the v2 design can be found at the end of the additional images below.
Additional Images
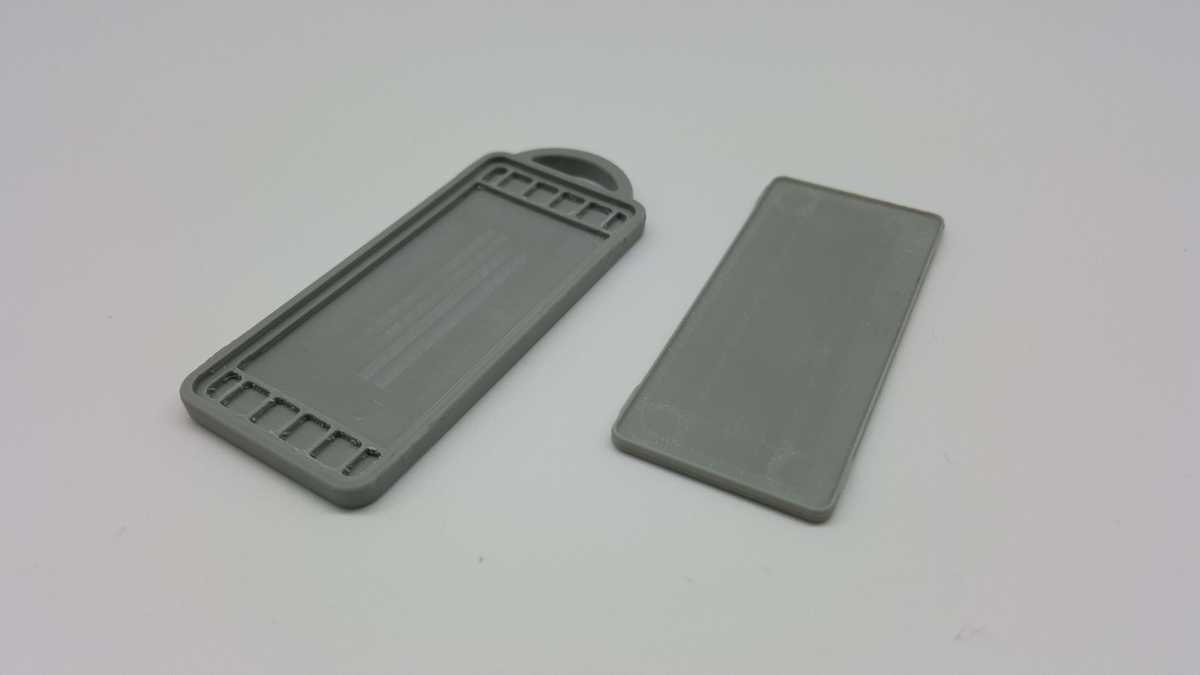
Original machined prototype - prior to tooling
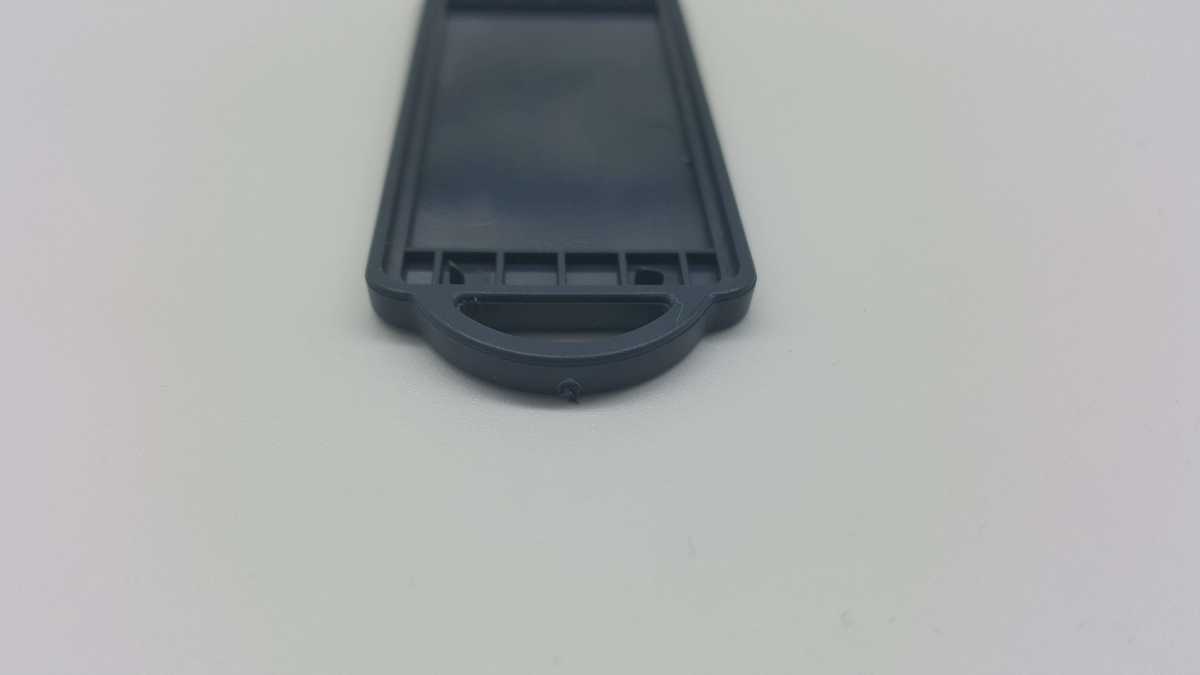
First sample part from production run
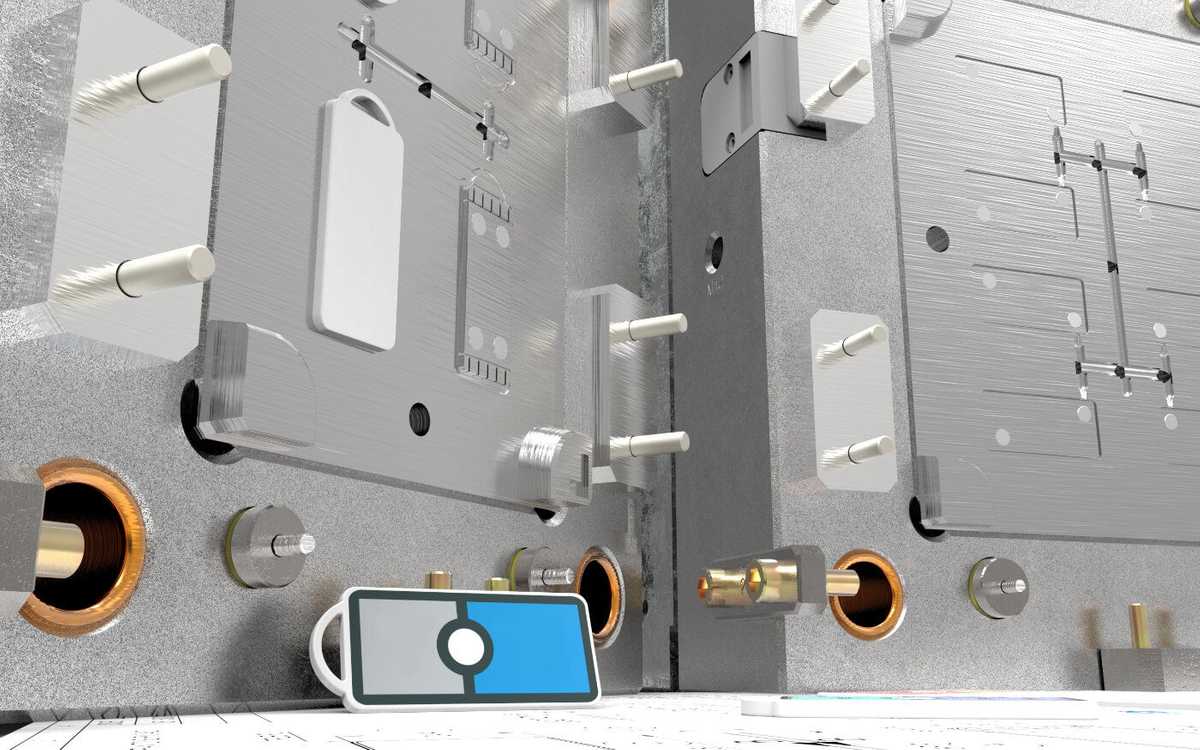
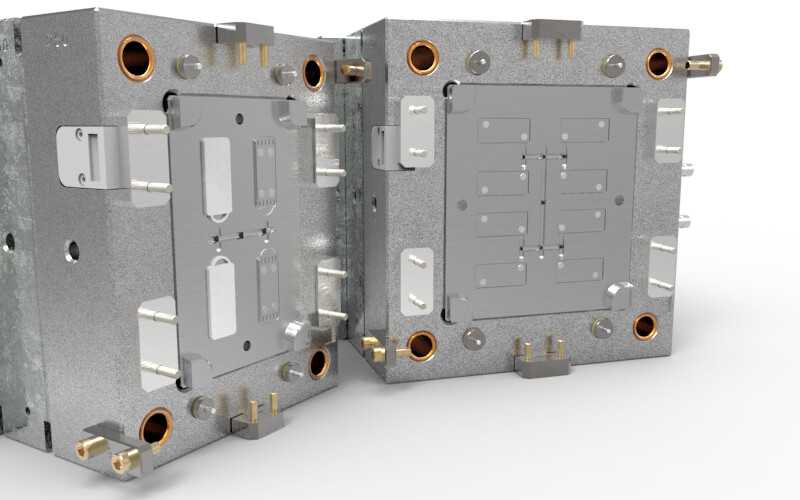
Keyshot renders of tag components and injection moulding tool
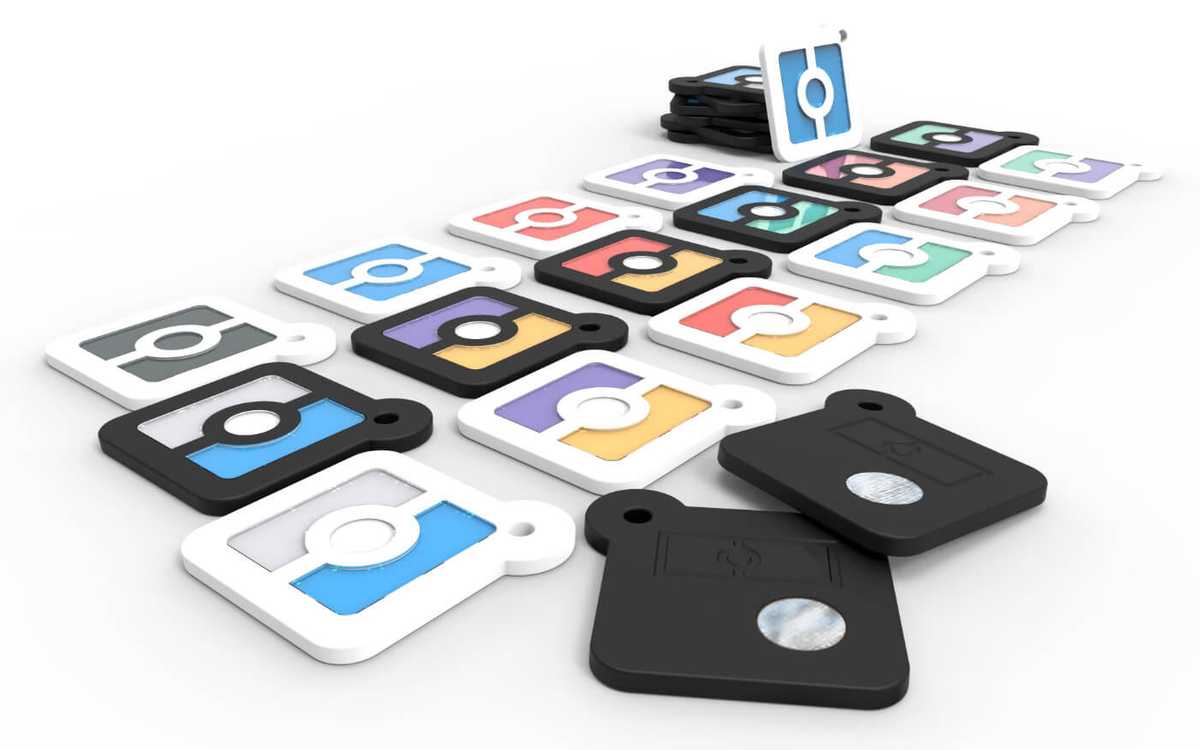
Keyshot render of tag v2 for development and client proposals
